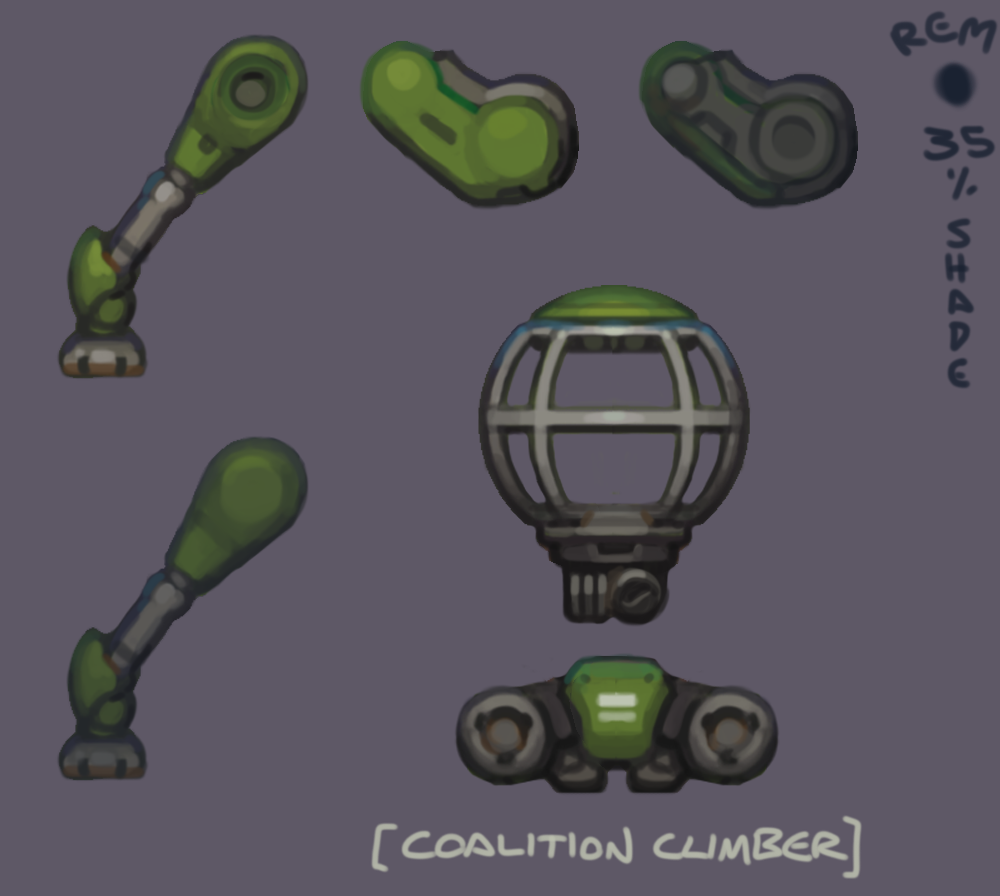
In this tutorial we will assemble a working blueprint from this picture drawn by our artist Arne.

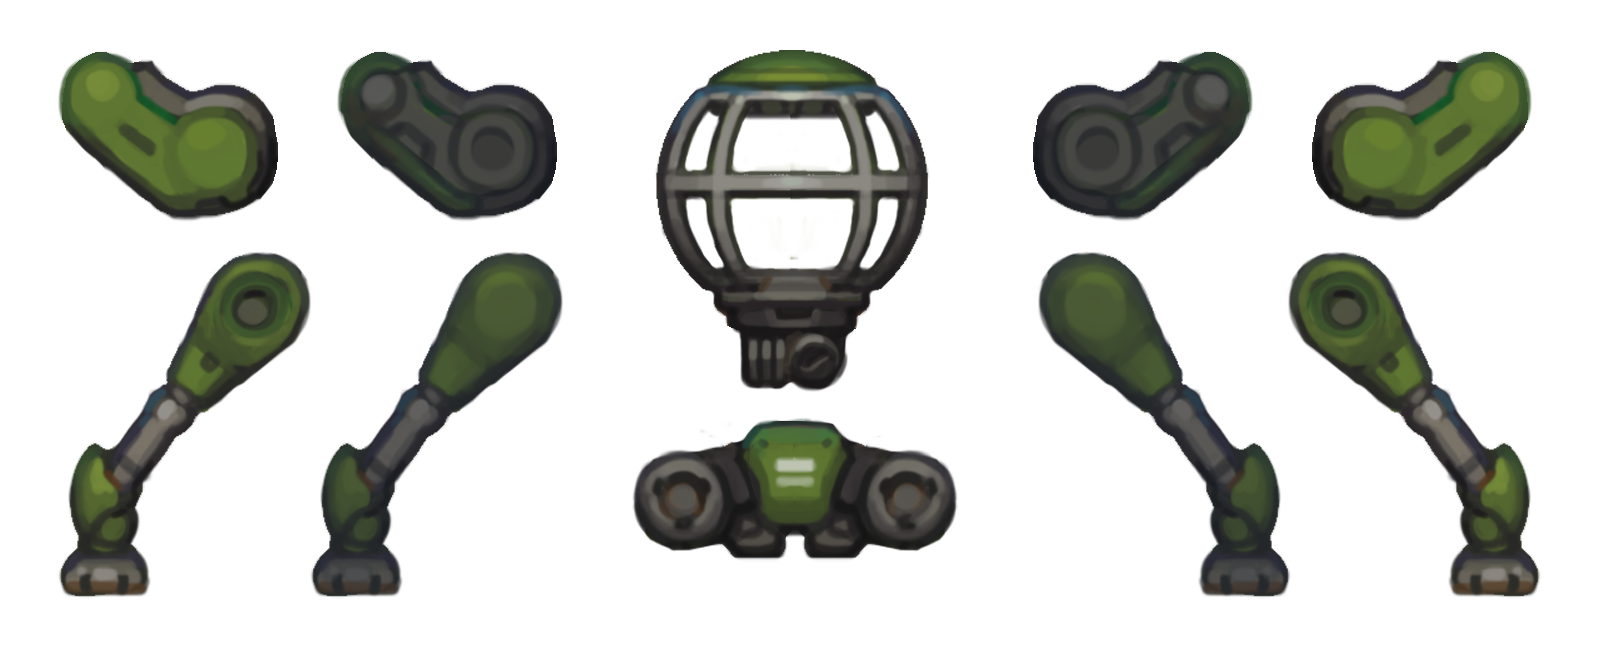
This is the source image I assembled from this which has to have a transparent background and all flipped parts on it.

Creating the Blueprnt
Start by opening the editor(F2) and create a new blueprint with the button at the bottom.

Then enter a name and type and save it.

Assigning a texture
Make sure to save your image in the “Textures” folder in the game root.
Next add an object by clicking the plus button and assign your texture from the texture library(F3).

Setting up the objects
Copy your added object a few times. Then name the objects and assign textures by clicking them on the picture.

Position the objects
Now allign the parts in the Blueprint editor. Manage layers with the arrow up and down button. Tune the positions precisely by entering exact coordinates at bottom.

Add joints
Change into joint edit mode and select “Add”. Click to add joints. Check your added joints in 3D mode and delete unnecessary joints. Make sure to add a joint called Mount Pilot with no B object for vehicles which will connect the pioneer with the vehicle.

Click somewhere in the game to spawn your blueprint with the insert button. The blueprint is now assembled but lacks proper joint and material properties. Thats what we are going to do next.
Set the joint properties
Double click joints to edit them. Tune angular friction to make joints move harder. Tune angular spring to hold the joint angle in place. Make the “Mount Pilot” joint a mount joint.

Set the object proprties
Set a material, the thickness(depth) and the hollowness of each objects to define its weight and behavior.

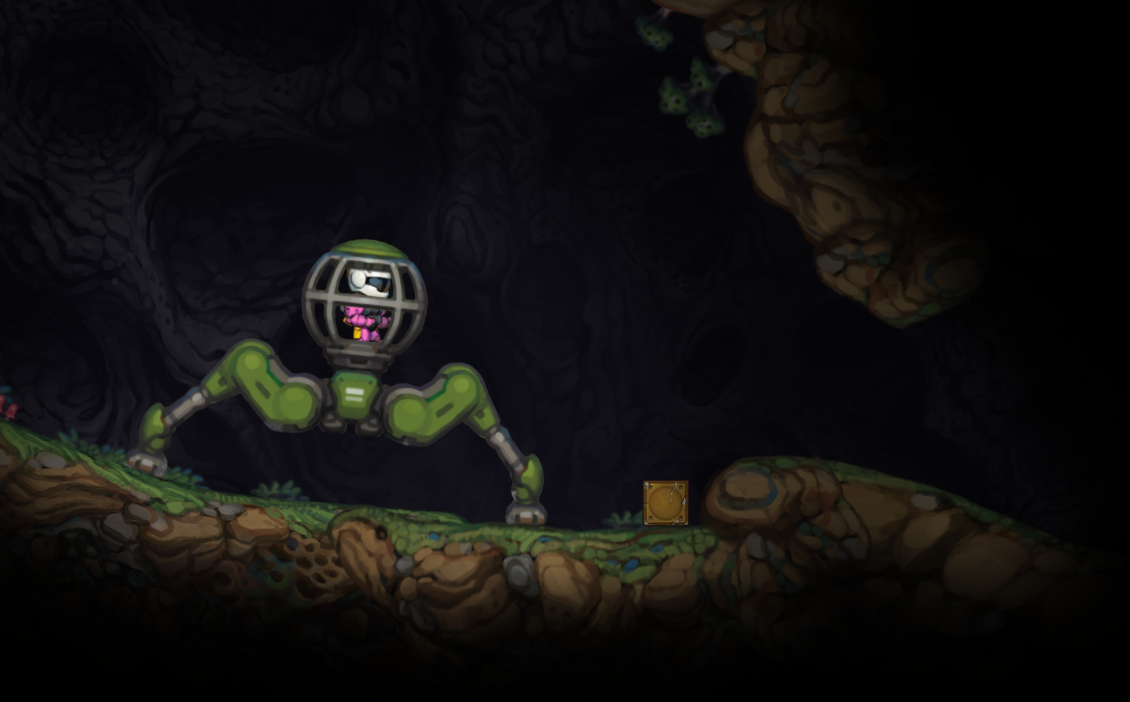
This is it. You should now have a mountable vehicle. Check out the next tutorial.to find out how define poses to animate it and write a Lua script to make it drivable.
